Skip to content
Home
Case Studies
Invest With Us
Sell Your Property To Us
Properties
Tenancy Application
Contact Us
Home
Case Studies
Invest With Us
Sell Your Property To Us
Properties
Tenancy Application
Contact Us
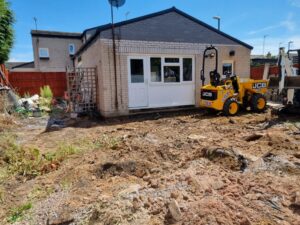
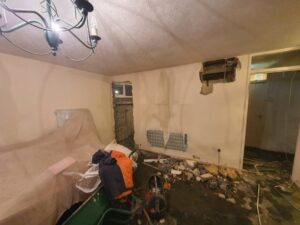
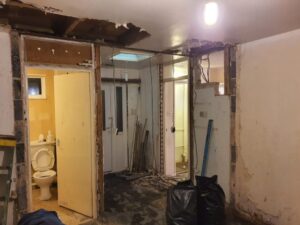
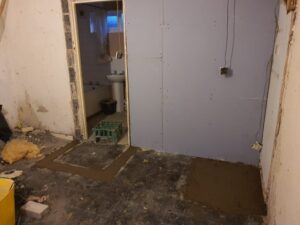
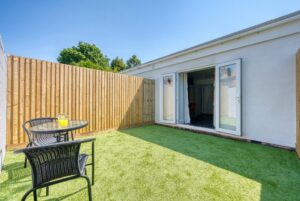
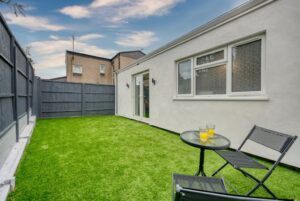
Project Boswell
Key Figures
Coming soon
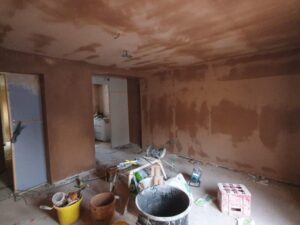
Room 1
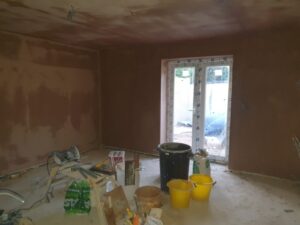
Room 2
Room 3
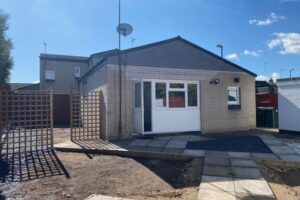
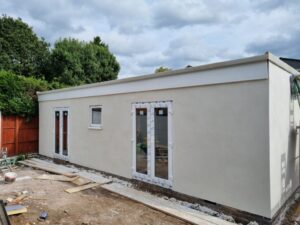
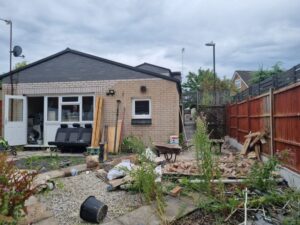
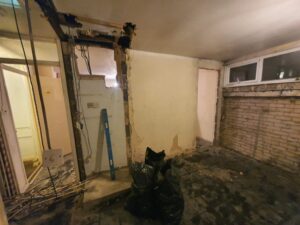
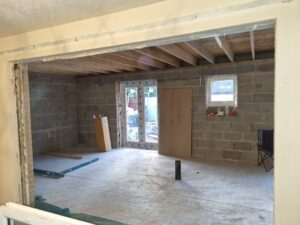
Before
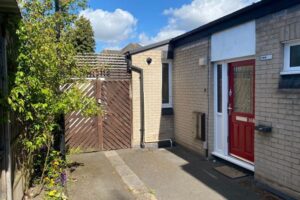
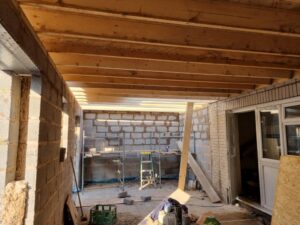
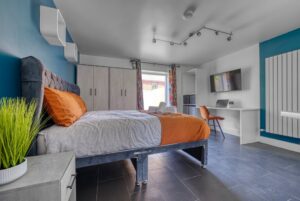
After
We use cookies to ensure that we give you the best experience on our website. If you continue to use this site we will assume that you are happy with it.
Ok
Privacy Policy